
Python × Flask × Raspberry Pi × OpenWeatherMap API を使って、「室内の温湿度(DHT20センサー)」と「指定都市の天気情報」を1つの画面に表示できるWebアプリを作ってみました。
これから電子工作に挑戦したい方のためになれば幸いです。
対象読者
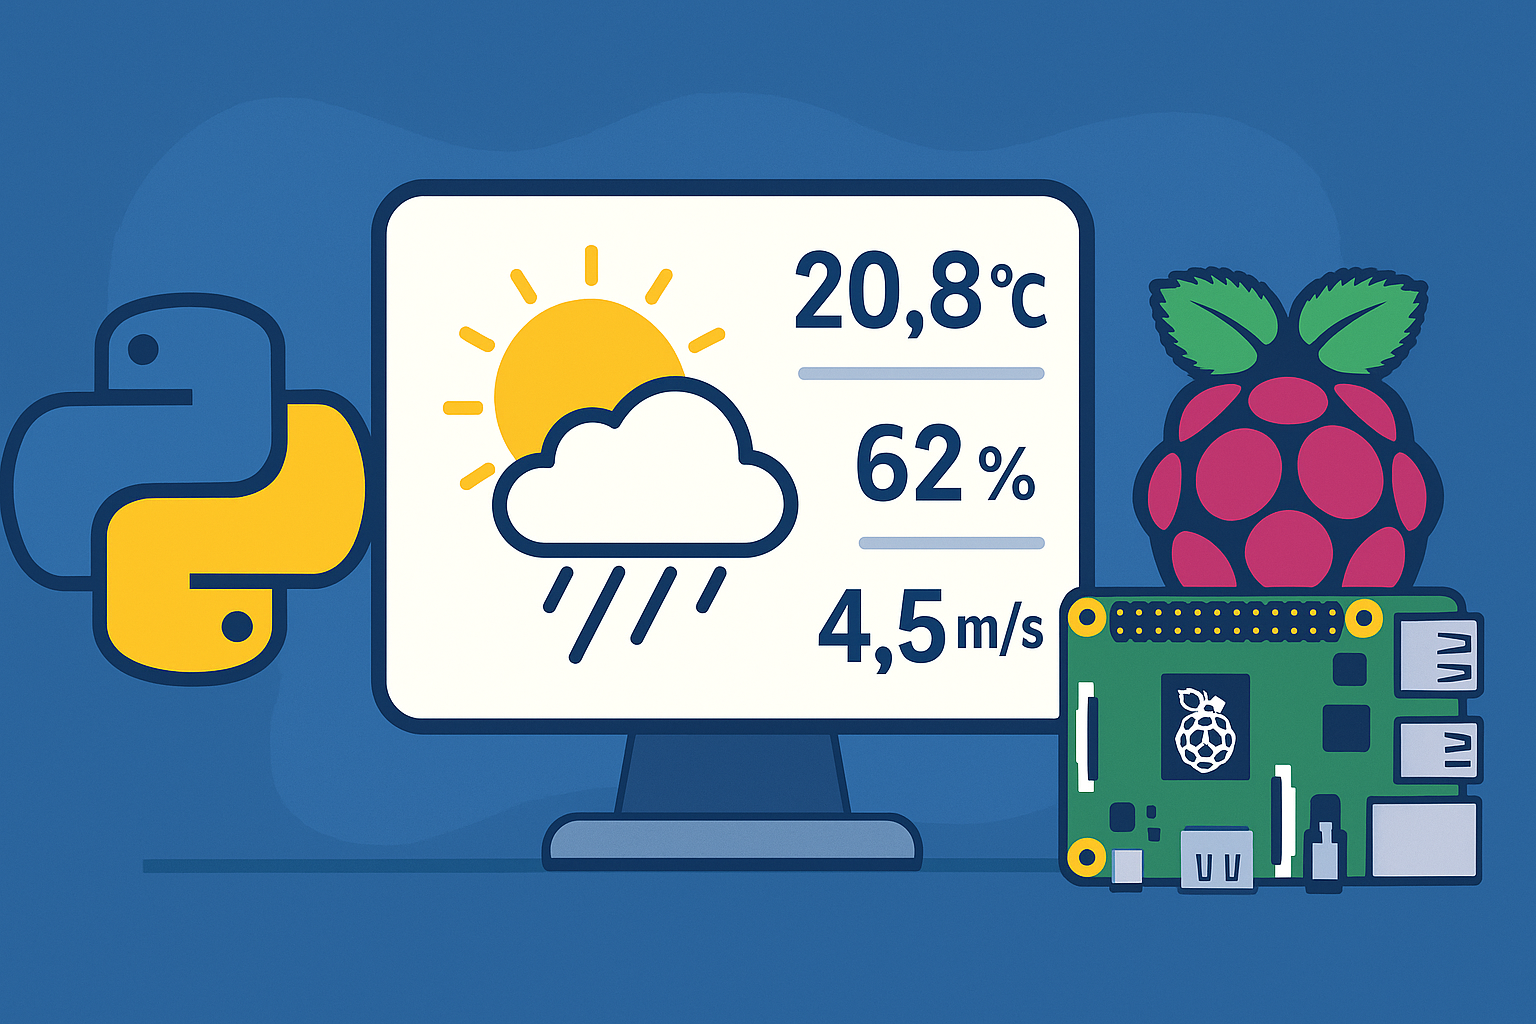
完成イメージ
ブラウザから都市名(例:Osaka, Tokyo)を入力すると:
- OpenWeatherMapから「天気・気温・湿度・風速」を取得
- ラズパイのGrove DHT20センサーから「室内温度・湿度」を取得
- ページにまとめて表示

用意するもの
| 商品画像 | 商品名 | 特徴 | Amazon | 楽天 |
|---|---|---|---|---|
 画像なし
画像なし
|
Raspberry Pi 4 | 中央制御 | Amazon | 楽天 |
 画像なし
画像なし
|
microSDカード(32GB以上) | OS・ログ保存 | Amazon | 楽天 |
 画像なし
画像なし
|
Grove 温湿度センサー(DHT20) | 環境温度監視 | Amazon | 楽天 |
※SDカードは容量が大きめをおすすめします。
プロジェクト構成
weather_app/
├── app.py
├── templates/
│   └── index.html
app.py:Flaskアプリの本体templates/index.html:表示用HTMLテンプレート
必要なライブラリをインストール
sudo apt update
sudo apt install python3-pip python3-flask python3-smbus i2c-tools -y
pip install flask requests smbus2
今回必要なものは、上記になります。適宜、足りないものがあったらインストールして下さい。
仮想環境で動かす場合は、こちらの記事をご参照下さい。
OpenWeatherMap の APIキーを取得
- OpenWeatherMap にアクセス
- 無料アカウントを作成
- 「API keys」からキーをコピー
- ラズパイに設定
OpenWeatherMapについては以下でも紹介しています。ご参照下さい。
DHT20センサーを接続(Grove)
| DHT20端子 | Raspberry Pi端子 |
|---|---|
| VCC | 3.3V |
| GND | GND |
| SDA | GPIO2 (ピン3) |
| SCL | GPIO3 (ピン5) |
設定確認:
sudo raspi-config   # → Interface Options → I2C → Enable
sudo i2cdetect -y 1 # → 0x38 が見えればOK!
DHT20センサーの接続については以下で詳細を解説しています。ご参照下さい。

SeeedStudio Grove 温湿度センサーV2.0(DHT20)
今回使用する温湿度センサーです。千石電商の方が安い場合もありますので、そちらもご参照下さい。
Flaskアプリのソースコード
以下を weather_app/app.py に保存します。
#!/usr/bin/env python3
# -*- coding: utf-8 -*-
"""
Flask × OpenWeatherMap × Grove DHT20 (Raspberry Pi) デモ
- 都市名を入力してOpenWeatherMapの天気を取得(metric/日本語)
- ラズパイのI2C経由でDHT20から室温・湿度を取得
- どちらかが失敗してもページは表示(N/A)で継続
"""

import os
import time
import json
import threading
from datetime import datetime, timedelta

import requests
from flask import Flask, render_template, request, flash

# --- DHT20 (Grove) driver (smbus2) ------------------------------------------
try:
    from smbus2 import SMBus, i2c_msg
except Exception:
    SMBus = None  # Windowsなど非ラズパイ環境向けにimport失敗を無視

DHT20_ADDR = 0x38
I2C_BUS_NO = int(os.getenv("I2C_BUS", "1"))  # ラズパイは通常1

def dht20_read(max_retries: int = 3, timeout_s: float = 0.15):
    """
    DHT20から (temperature_C, humidity_RH) を取得。
    失敗時は (None, None) を返す。
    """
    if SMBus is None:
        return (None, None)

    try:
        with SMBus(I2C_BUS_NO) as bus:
            # 初期化待ち(calフラグ確認)
            for _ in range(10):
                status = bus.read_byte(DHT20_ADDR)
                busy = (status & 0x80) != 0
                cal  = (status & 0x08) != 0
                if (not busy) and cal:
                    break
                time.sleep(0.05)

            for attempt in range(max_retries):
                # 測定コマンド
                bus.write_i2c_block_data(DHT20_ADDR, 0xAC, [0x33, 0x00])
                time.sleep(timeout_s)

                # 7バイト読み込み
                read = i2c_msg.read(DHT20_ADDR, 7)
                bus.i2c_rdwr(read)
                data = list(read)
                if len(data) != 7:
                    continue

                # ビット展開
                # data[0]=status, [1..5]にデータ、[6]=CRC(未使用)
                raw_h = ((data[1] << 12) | (data[2] << 4) | (data[3] >> 4)) & 0xFFFFF
                raw_t = (((data[3] & 0x0F) << 16) | (data[4] << 8) | data[5]) & 0xFFFFF

                # データ式(datasheet準拠)
                humidity = raw_h * 100.0 / (2**20)
                temperature = raw_t * 200.0 / (2**20) - 50.0

                # 妥当性チェック
                if -40.0 <= temperature <= 85.0 and 0.0 <= humidity <= 100.0:
                    return (round(temperature, 2), round(humidity, 2))
            return (None, None)
    except Exception:
        return (None, None)

# --- OpenWeatherMap client with simple cache --------------------------------
OWM_API_KEY = os.getenv("OPENWEATHER_API_KEY", "")
OWM_BASE = "https://api.openweathermap.org/data/2.5/weather"
CACHE = {}
CACHE_LOCK = threading.Lock()
CACHE_TTL = timedelta(minutes=5)  # 5分キャッシュ(API節約)

def fetch_weather(city: str, lang: str = "ja", units: str = "metric"):
    """
    OpenWeatherMap 現在天気を取得。5分キャッシュ。
    戻り値(dict)例:
      {"ok": True, "city": ..., "temp": 23.4, "desc": "くもり", "icon": "04d", "raw": {...}}
    失敗時:
      {"ok": False, "error": "説明文"}
    """
    if not OWM_API_KEY:
        return {"ok": False, "error": "OPENWEATHER_API_KEY が未設定です。"}

    key = f"{city.lower()}:{lang}:{units}"
    now = datetime.utcnow()

    with CACHE_LOCK:
        ent = CACHE.get(key)
        if ent and now - ent["ts"] < CACHE_TTL:
            return ent["val"]

    params = {"q": city, "appid": OWM_API_KEY, "units": units, "lang": lang}
    try:
        r = requests.get(OWM_BASE, params=params, timeout=8)
        if r.status_code != 200:
            return {"ok": False, "error": f"HTTP {r.status_code}: {r.text}"}
        data = r.json()
        val = {
            "ok": True,
            "city": data.get("name", city),
            "temp": (data.get("main", {}).get("temp")),
            "feels": (data.get("main", {}).get("feels_like")),
            "humidity": (data.get("main", {}).get("humidity")),
            "desc": (data.get("weather", [{}])[0].get("description")),
            "icon": (data.get("weather", [{}])[0].get("icon")),
            "wind": (data.get("wind", {}).get("speed")),
            "raw": data,
        }
    except Exception as e:
        return {"ok": False, "error": f"リクエスト失敗: {e}"}

    with CACHE_LOCK:
        CACHE[key] = {"ts": now, "val": val}
    return val

# --- Flask App ---------------------------------------------------------------
app = Flask(__name__)
app.secret_key = os.getenv("FLASK_SECRET_KEY", "dev-secret")

@app.route("/", methods=["GET", "POST"])
def index():
    # 都市名(初期は Osaka など)
    if request.method == "POST":
        city = (request.form.get("city") or "").strip()
    else:
        city = (request.args.get("city") or "Osaka").strip()

    weather = fetch_weather(city) if city else {"ok": False, "error": "都市名が空です"}
    if not weather.get("ok"):
        flash(weather.get("error") or "天気情報の取得に失敗しました。", "error")

    # DHT20 読み取り
    temp_c, rh = dht20_read()
    sensor = {
        "ok": (temp_c is not None and rh is not None),
        "temp_c": temp_c,
        "humidity": rh,
        "note": None if (temp_c is not None) else "DHT20が見つからない、またはI2C未設定 (raspi-config または dtparam=i2c_arm=on) の可能性があります。",
    }

    return render_template("index.html",
                           city=city,
                           weather=weather,
                           sensor=sensor,
                           generated_at=datetime.now().strftime("%Y-%m-%d %H:%M:%S"))

if __name__ == "__main__":
    # 開発用
    host = os.getenv("FLASK_HOST", "0.0.0.0")
    port = int(os.getenv("FLASK_PORT", "5000"))
    app.run(host=host, port=port, debug=True)
テンプレートHTML
weather_app/templates/index.html:
<!doctype html>
<html lang="ja">
<head>
  <meta charset="utf-8">
  <title>天気 × 室内センサー(Flask + OpenWeatherMap + DHT20)</title>
  <meta name="viewport" content="width=device-width, initial-scale=1">
  <style>
    body { font-family: system-ui, -apple-system, "Segoe UI", Roboto, "Noto Sans JP", sans-serif; margin: 24px; }
    .wrap { max-width: 900px; margin: 0 auto; }
    header { margin-bottom: 16px; }
    form { display: flex; gap: 8px; align-items: center; margin-bottom: 16px; }
    input[type="text"] { padding: 8px 10px; font-size: 16px; flex: 1; }
    button { padding: 8px 12px; font-size: 16px; cursor: pointer; }
    .grid { display: grid; grid-template-columns: repeat(auto-fit, minmax(280px, 1fr)); gap: 16px; }
    .card { border: 1px solid #ddd; border-radius: 12px; padding: 16px; background: #fff; }
    .muted { color: #666; font-size: 14px; }
    .error { color: #b00020; }
    .ok    { color: #0a7b34; }
    .row   { margin: 6px 0; }
  </style>
</head>
<body>
<div class="wrap">
  <header>
    <h1>天気 × 室内センサー</h1>
    <p class="muted">OpenWeatherMapの天気と、Raspberry Pi の DHT20 室温・湿度を表示します。</p>
  </header>

  {% with messages = get_flashed_messages(with_categories=true) %}
    {% if messages %}
      <ul>
        {% for cat, msg in messages %}
          <li class="{{ cat }}">{{ msg }}</li>
        {% endfor %}
      </ul>
    {% endif %}
  {% endwith %}

  <form method="post" action="/">
    <input type="text" name="city" value="{{ city }}" placeholder="都市名を入力(例: Osaka, Tokyo, New York)">
    <button type="submit">取得</button>
  </form>

  <div class="grid">
    <!-- 天気カード -->
    <section class="card">
      <h2>天気({{ weather.city if weather.ok else city }})</h2>
      {% if weather.ok %}
        <div class="row">説明:{{ weather.desc }}</div>
        <div class="row">気温:{{ weather.temp }} ℃(体感 {{ weather.feels }} ℃)</div>
        <div class="row">湿度:{{ weather.humidity }} %</div>
        <div class="row">風速:{{ weather.wind }} m/s</div>
      {% else %}
        <div class="error">天気情報の取得に失敗しました。</div>
      {% endif %}
    </section>

    <!-- センサーカード -->
    <section class="card">
      <h2>室内(DHT20)</h2>
      {% if sensor.ok %}
        <div class="row">温度:{{ sensor.temp_c }} ℃</div>
        <div class="row">湿度:{{ sensor.humidity }} %</div>
      {% else %}
        <div class="error">センサー読み取りに失敗または未接続。</div>
        {% if sensor.note %}<div class="muted">{{ sensor.note }}</div>{% endif %}
      {% endif %}
    </section>
  </div>

  <p class="muted" style="margin-top: 16px;">更新:{{ generated_at }}</p>
</div>
</body>
</html>
実行とアクセス
cd weather_app
python app.py
ブラウザで以下を開きます。
http://<ラズパイのIPアドレス>:5000/都市名を入力 → 室内温度・湿度+外の天気をリアルタイム表示!
よくあるトラブル
| 症状 | 対処方法 |
|---|---|
APIキーが未設定 | 環境変数 OPENWEATHER_API_KEY を設定 |
| DHT20の値が出ない | I2Cを有効化 (sudo raspi-config) / 配線チェック |
| UnicodeDecodeError | ファイル保存時にUTF-8で保存 |
| サービス常駐化 | systemdやtmuxで起動 |
まとめ
| 要素 | 技術 |
|---|---|
| Webフレームワーク | Flask |
| 外部API | OpenWeatherMap |
| ハードウェア | Raspberry Pi + Grove DHT20 |
| 通信 | I2C (0x38) |
| 表示 | HTML + Flaskテンプレート |
FlaskとIoTを組み合わせると、
“Webブラウザで見るスマートホームダッシュボード”が手軽に作れます!
最後に
「このアプリを拡張してグラフ表示したい」
「室温が一定を超えたらアラーム発報したい」
といった応用記事も順次公開予定です!